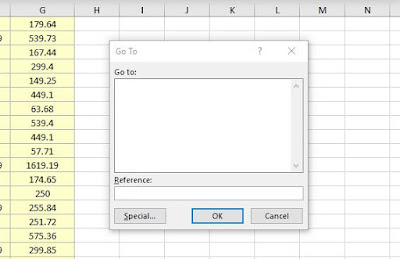
Go to lets you move swiftly to a specific line, range, cell, row, column in the workbook.
How to activate 'Go to' window? (Shortcut Ctrl+G)
- Under the Home Tab click 'Find & Select'.
- Click Go to.
 | |
| Go to window |
Instance 1
Selection of Cell D15.
- Under Reference text box type D15.
- Click Ok.
Cursor will move to the intersection of D column and 15th Row.
Instance 2
Selection of Cells A1 to D15.
- Under Reference text box type 'A1:D15'.
- Click Ok.
Instance 3
Selection of non contiguous cells A3 to A4 & C9 to G9 & A11 to G17.
- Under the Reference text box type A3:A4,C9:G9,A11:G17
- Click Ok
Selection of a particular row say 9
- Under the Reference text box type 9:9.
- Click Ok.
- Under the Reference text box type 9:10
- Click Ok.
Instance 5
Selection of a particular column say D
- Under the Reference text box type D:D
- Click Ok
- Under the Reference text box type D:E
- Click Ok.
- Select the range.
- In the name box type the desired name (advised to ignore digits and put underscore in between). (for instance excel_excel is the desired name selected for the sake of discussion).
- Press Enter.
- You can see in the name box 'excel_excel' has appeared as the customized name of the range previously selected.
Just highlight the desired name from the above box.
Click Ok.

No comments:
Post a Comment